Launch a Media Property
This guide provides a step-by-step explanation on how to build and deploy a Media Property with Eluvio’s Creator Studio.
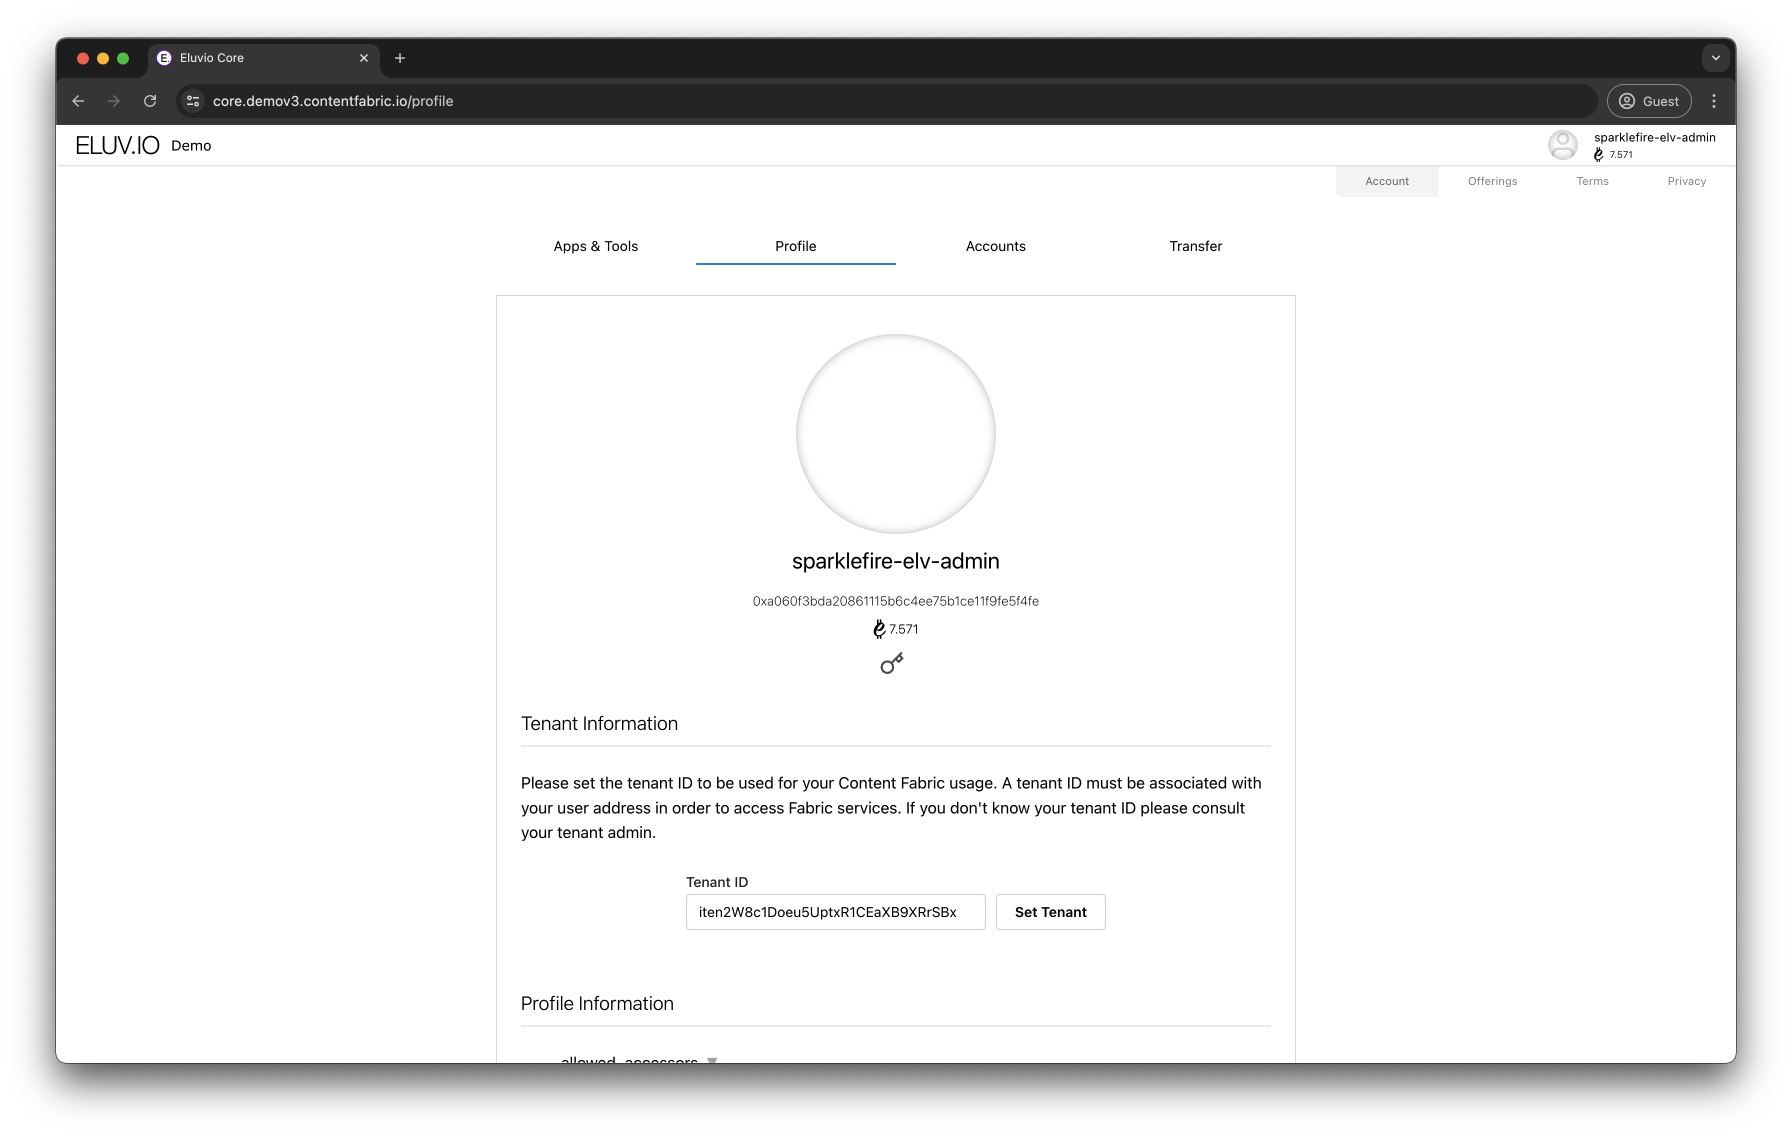
Step 0 - Set Tenant Contract ID
Important
To access the Creator Studio app or any Core Fabric service, you must set a Tenant Contract ID in your Profile provided by Eluvio. If the account you are using does not have a Tenant Contract ID associated with it, you will receive the following error.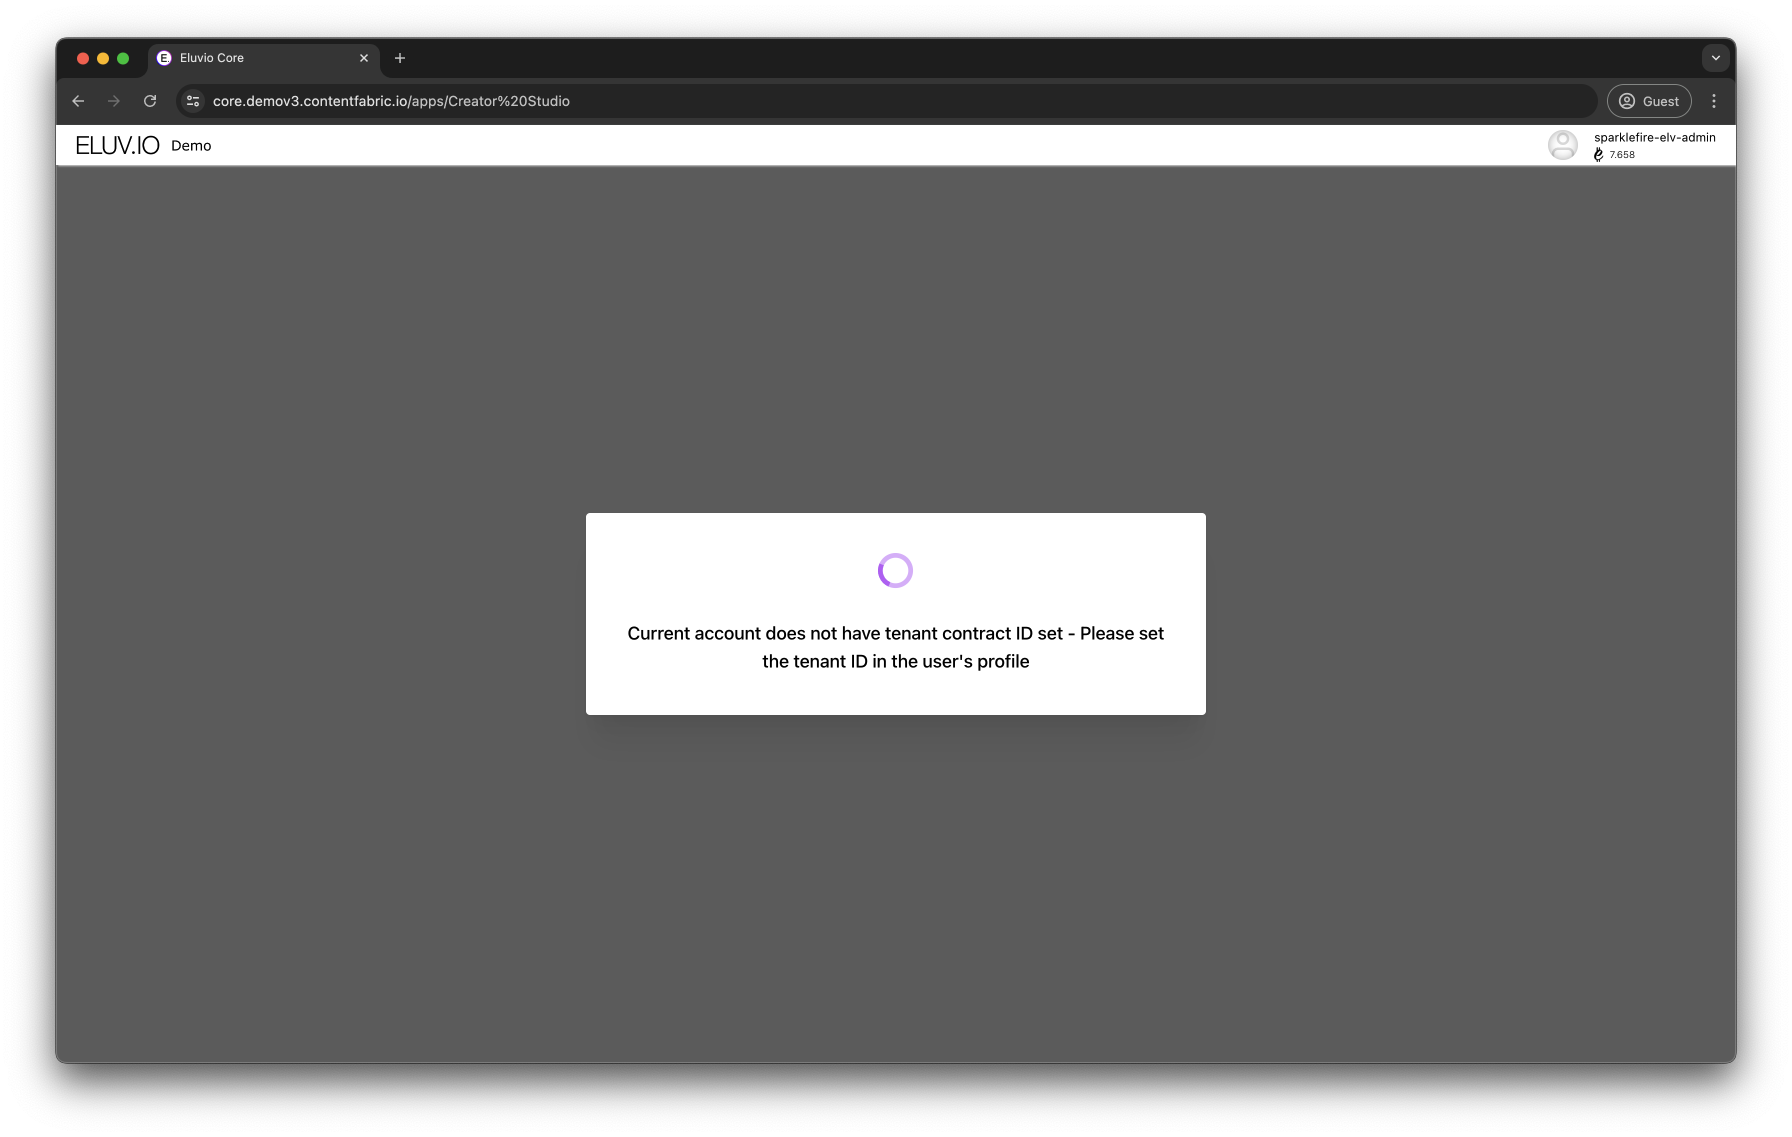
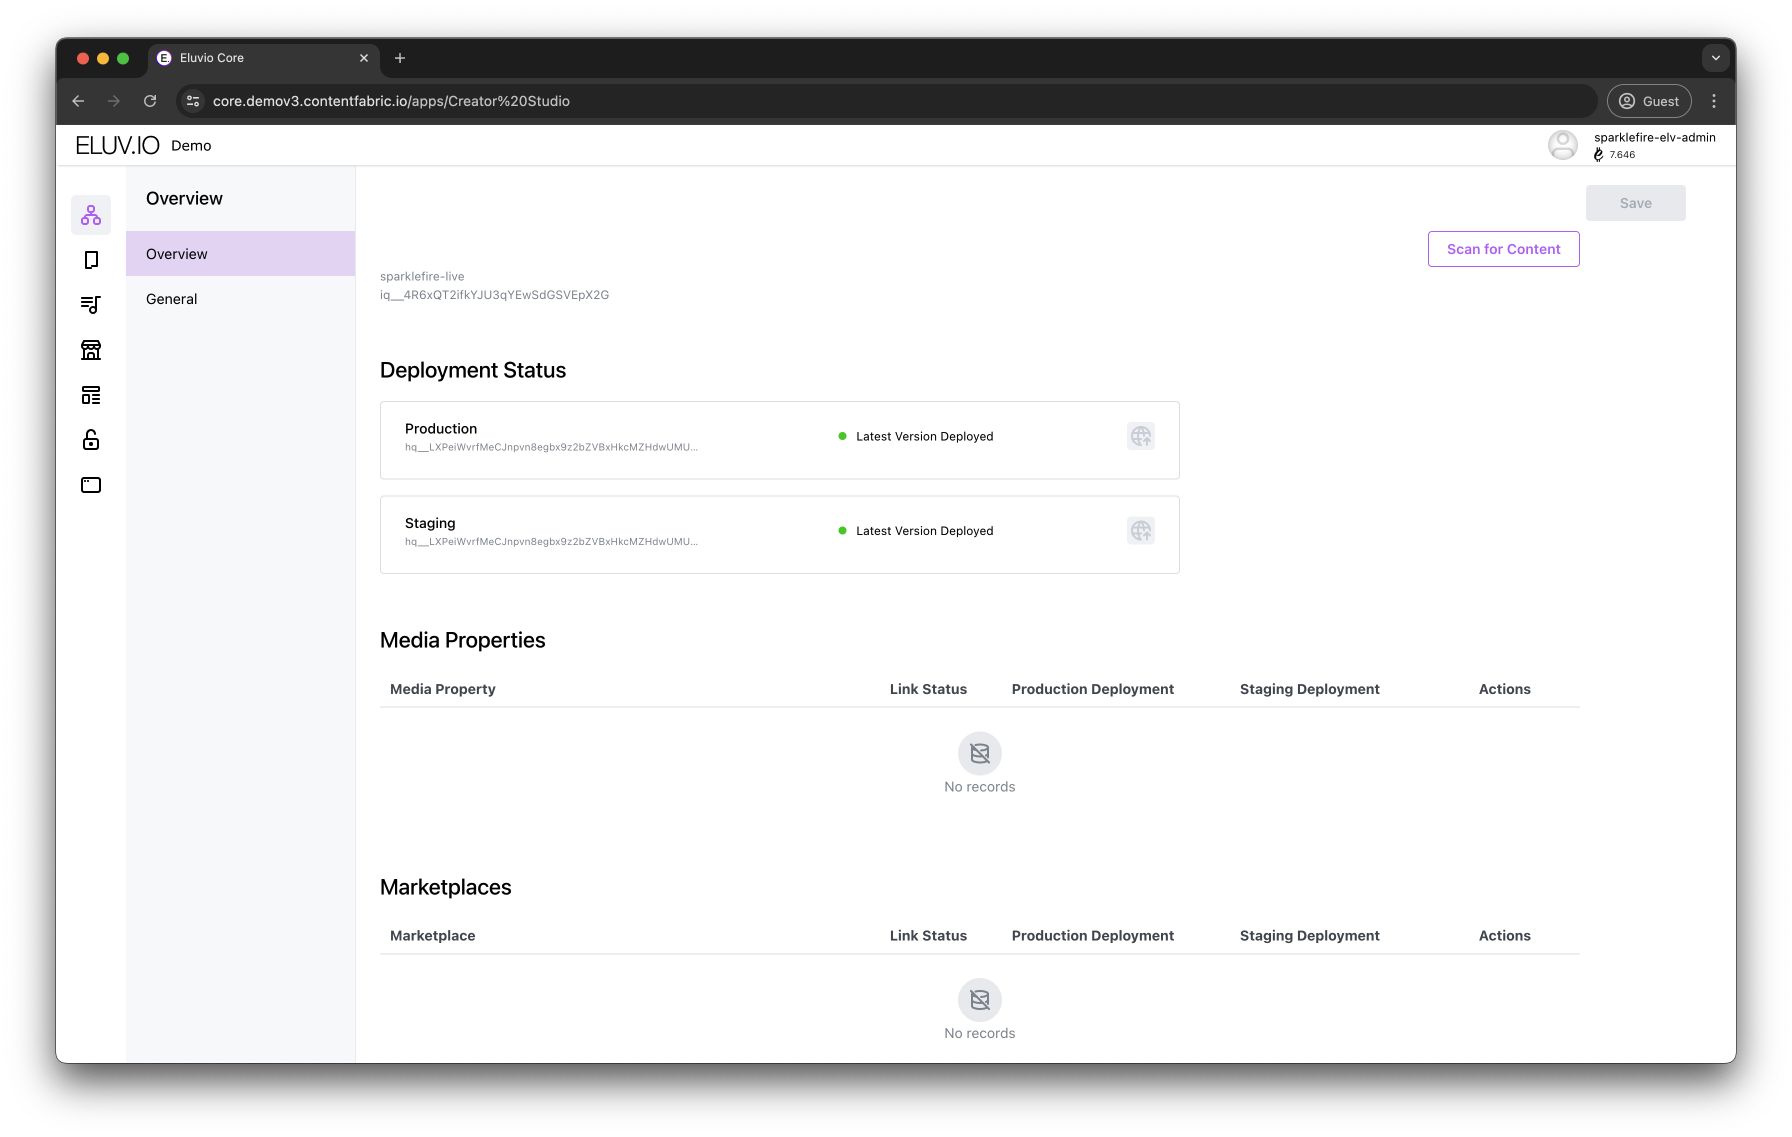
This will initialize Creator Studio and build the necessary Content Types, enabling the creation of Media Properties and Catalogs. The landing page will have an overview of the tenancy’s active Environment Deployments and Link Status, alerting if the latest version is linked/deployed or not.
Step 1 - Create Media Property
To create your first Media Property:
- Click on the Media Properties icon on the right sidebar
- Click on Create New Media Property button
- Type in the desired name
You have successfully created your first Creator Studio Media Property.
HINT: You can verify the Media Property object has been successfully created by copying its unique ID and searching for it in the Fabric Browser. It can also be deleted using the More Options dropdown button.
Step 2 - Add Static Media to Property
Start customizing your property with your own logos, images, descriptions, favicons as well as CSS so that it matches your organization’s design ethos and brand guidelines.
- Click Manage button
- Navigate to General Settings
- Upload your local media
- Add them to each pertaining section (follow exact specs to ensure the highest quality)
Here’s a link to all visual media requirements of property: Eluvio Media Property - Required Images and Specs
Step 3 - Create Media Catalog
Add your streamable media to your Property with a Media Catalog. It will contain all Media Item definitions linked to Title Mezzanine objects containing your playable and already uploaded media. Check out the Basic Ingest section for detailed information regarding media ingest into the Content Fabric. To create a Media Catalog:
- Click on the Media Catalogs icon on the right sidebar (add an optional description and placeholder image)
- Add Media Items for each streamable object
- Upload placeholder images and add Headers/Description of each Media Item
- Link the Mezzanine object to the new Media Item definition under Video section
- HINT: search for Mezzanine ID on the Fabric Browser
- Save Changes
Step 4 - Set Up Property Page Sections
Link a Media Catalog to the Media Property in order to create Page Sections withing the Property. To create a Page Section:
- Access the Media Property
- Select the Media Catalog(s) to be accessed by Property
- Provide a Display Title, Subtitle and Description
- Select a Card Style to display each Media Item
- Specify an Aspect Ration for each Media Item
- Add either a background color or image
- Add optional media filetrs
- Select the section’s content part of the linked Media Catalog
You can add as many Page Sections as you wish and configure them to create the desired content organization.
Step 5 - Set Up Property Page
By default, a Media Property contains a Main Page and a No Access Page (the latter used for media that can’t be played without being logged in). You can use these pages as well as create additional ones.
Inside each Page you will be able to:
- Add a Landing Page Header (title, brief description and optional logo)
- Background Image that will cover the entire window
- Ability to add Action Buttons capable of imposing different behaviors and workflows (i.e. display a Sign In button on Main Page landing display)
- Add previously configured Page Sections
Step 6 - Link Property and Deploy
Link latest version of your Media Property to the Production environmnet.
- Click on Home icon
- Click Update Link icon besides the Media Property item (you will see the Link Status of your Media Property display Latest Version Linked)
- Click the Deploy button of the Production/Staging environments.
- Access your Media Property with Eluvio’s Media Wallet’s URL with the Media Property’s ID appended.
- Main Network: https://wallet.contentfabric.io/
- Demo Network: https://wallet.demov3.contentfabric.io/